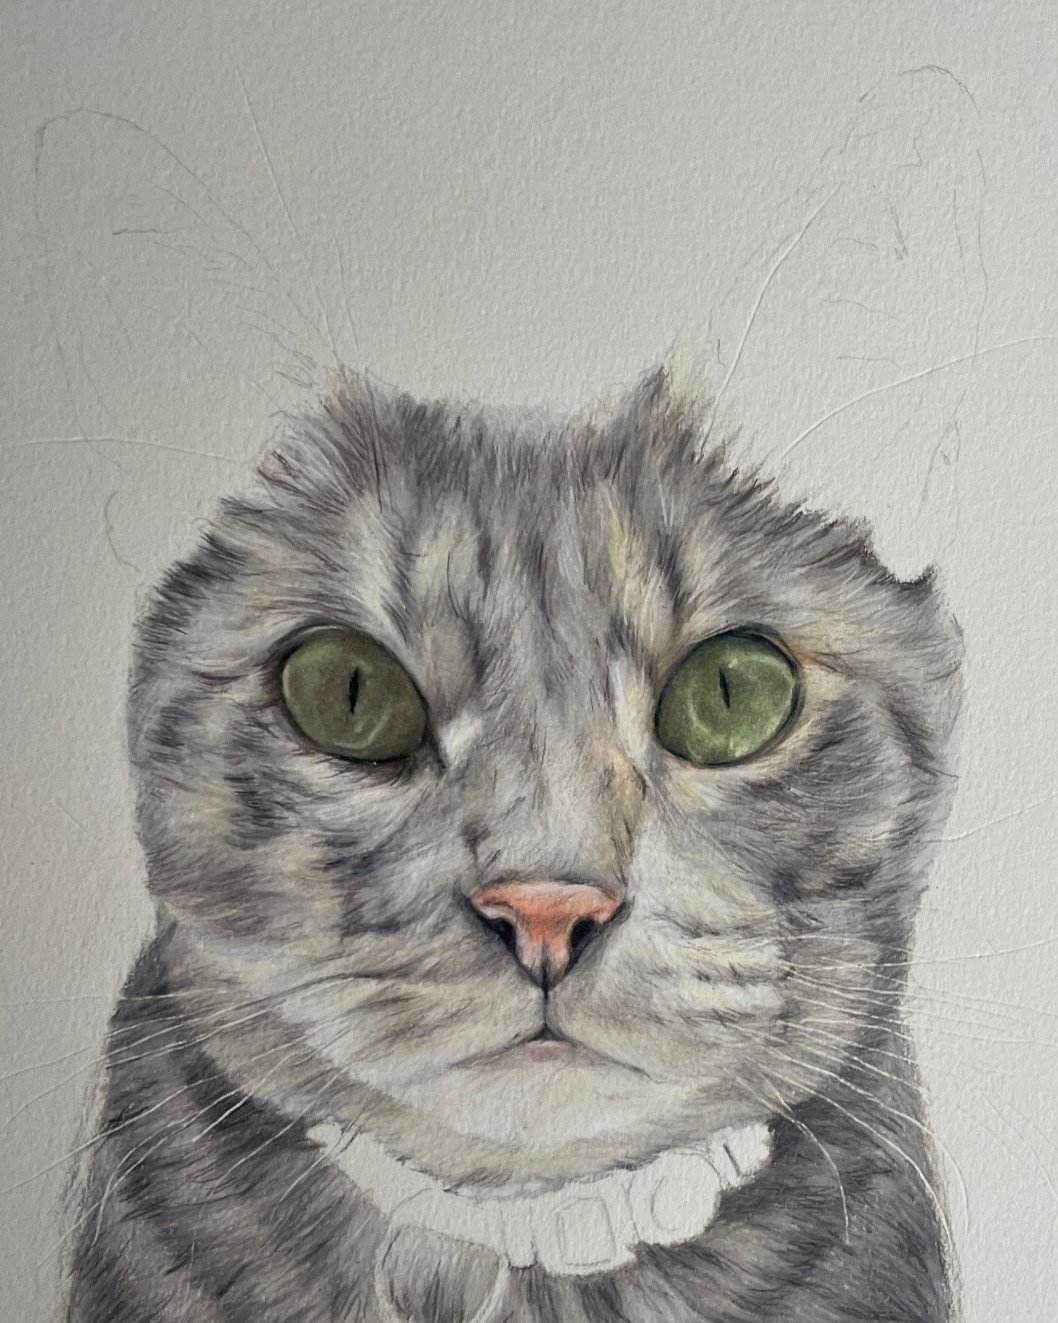
5 tools to enhance your coloured pencil drawings
When I create my coloured pencil portraits there are essential materials I love to use time and time again. For a comprehensive list of my favourite art supplies check out my amazon storefront below. These are materials I have tried and continue to use within my artwork. Please note (at no extra cost to yourself) I receive a small commission on items you purchase with my link on amazon.
Read on to find out my top 5 tools for enhancing colour pencil portraits!
1) Emboss tool
Perfect for indenting the paper prior to adding whiskers or fine detail. Go easy when using this tool as you can’t go back once you’ve indented the paper.
2) Fine tip eraser
Great for gently erasing fine lines, I like it use it to remove the initial sketch/ guide lines.
3) Electric eraser
Offers a firmer pressure than a standard eraser so it’s the best tool for adding in highlights once the pencil has already been layered on the page.
4) Slice tool
This sharp blade is an amazing tool for removing small amounts of coloured pencil, a necessity for creating depth.
5) Liquid coloured pencil
This is as it sounds…liquid coloured pencil in a bottle! Pearl Burnish have created both a white and black I apply very small amounts with a paintbrush to intensity highlights or when adding in whiskers. Once it’s dried you can go back over it with a coloured pencil to make it appear less harsh.
Thank you for reading this blog post - I hope you found it interesting. Please comment below to share your favourite tools when creating coloured pencil portraits.
I look forward to hearing from you!


